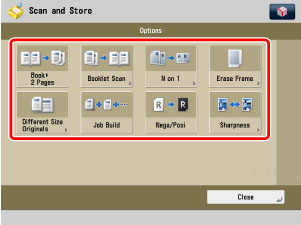
Options, such as the Job Build mode, are modes for performing various kinds of editing according to your needs, when printing or storing files in storage.
|
IMPORTANT
|
|
For information on the modes which cannot be set in combination with this mode, see "Unavailable Combination of Functions."
|
The features that are displayed when [Options] is pressed may not be available, depending on the storage or file format.
Available:  Unavailable:
Unavailable: |
Options
|
Storage
|
|
|
Mail Box
|
Advanced Space
Network
Memory Media
|
|
|
Book
 2 Pages 2 Pages |
|
|
|
Booklet Scan
|
|
|
|
N on 1
|
|
|
|
Frame Erase
|
|
|
|
Different Size Originals
|
|
|
|
Job Build
|
|
|
|
Nega/Posi
|
|
|
|
Sharpness
|
|
|
|
NOTE
|
|
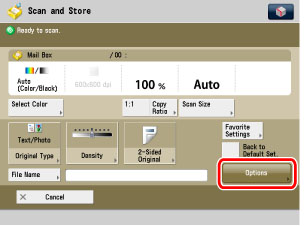
As an example, the procedure for scanning an original and storing it in a mail box is explained in this section.
|
1.
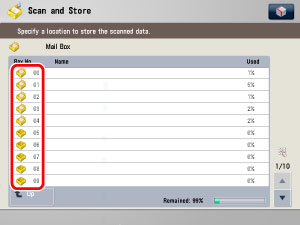
Select the desired Mail Box.
If you enter the Mail Box number using  -
-  (numeric keys), make sure to enter a two digit number → press [OK].
- (numeric keys), make sure to enter a two digit number → press [OK].If you make a mistake when entering the Mail Box number, press  → enter the correct number.
|
NOTE
|
|
If a file is stored in a mail box, that mail box is displayed with the files icon (
 ). ). If a mail box is set with a password, a locked icon (
 ) is displayed next to the icon of that mail box. ) is displayed next to the icon of that mail box. If you make a mistake when entering the Mail Box number using the numeric keys, press [Cancel] → select the correct Mail Box.
|
2.
If the Log In screen is displayed, enter the password using - (numeric keys) → press [OK]
- (numeric keys) → press [OK]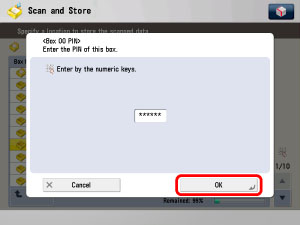
Enter the password set for the selected Mail Box. (See "Setting/Storing a Mail Box.")
If a password is not set for the selected Mail Box, this step is not necessary.
3.
Place your originals.
|
NOTE
|
|
For instructions on placing originals, see "Duplex Color Image Reader Unit-C1."
|
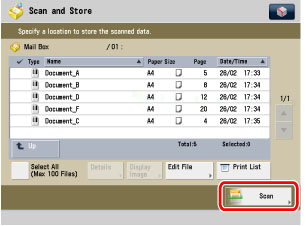
4.
Press [Scan].
5.
Press [Options].
6.
Select the desired mode from the Options screen.
|
IMPORTANT
|
|
Depending on the mode, you may have to place your original on the platen glass or in the feeder. See the corresponding section on each mode for detailed information.
|
7.
Set the desired mode.
For more information on setting each mode, see the corresponding section.
To set other modes at the same time, repeat steps 6 and 7.
8.
Press [Close].
9.
Press  .
.
. If the original is placed on the platen glass, follow the instructions on the touch panel display → press once for each original.
once for each original. Printing starts.
|
NOTE
|
|
To cancel this setting, follow the procedure below.
For modes which have a right triangle (
) on the bottom right of their key:Example: Frame Erase Press [Options] → [Frame Erase] → [Cancel Settings]. For modes which do not have a right triangle (
) on the bottom right of their key:Example: Job Build Booklet Scanning Press [Options] → [Job Build]. |