This section describes how to export and import Quick Menu from a computer.
|
NOTE
|
|
Only authorized users can export/import the Quick Menu from a computer.
|
To import/export the registered buttons, you must access and log in to the machine from the Web browser. You can access from the portal page of the Remote UI.
|
IMPORTANT
|
|
To use the Remote UI, set [Remote UI] in Management Settings (Settings/Registration) to 'On'. (See "Setting Remote UI.")
Specify the following settings if you are working in an environment using a proxy server. (As these settings differ depending on the network environment, consult the network administrator.)
In the proxy server settings of your Web browser, add the IP address of the machine or the computer name to the [Exceptions] (addresses that do not use a proxy) list.
Your browser requires the following settings: JavaScript should be enabled, and Cookies should be enabled for each session.
|
|
NOTE
|
|
For more information on login services, see "MEAP." If a login service is not set, the Log In screen is not displayed.
|
1.
Start your Web browser.
2.
Enter the following URL in [Address]: (case sensitive)
http://<IP address of the machine or host name>
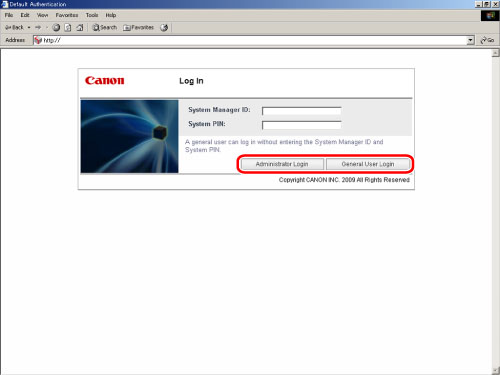
The Log In page is displayed.
|
IMPORTANT
|
|
The page that is displayed differs, depending on the selected login service.
|
3.
Enter each item → click [Log In].
The following screen displays the default setting. Enter the Department ID and password → click [Administrator Login].
The default setting for both the System Manager ID and System Password is '7654321'. We recommend that you change both the System Manager ID and System Password. (See "Specifying the System Manager Settings.")
If the Default Authentication (Department ID Management) or SSO-H (Single Sign-On H) is set, enter the necessary items for each log in.
The portal page of the Remote UI is displayed.
4.
Click [Quick Menu] from the application.
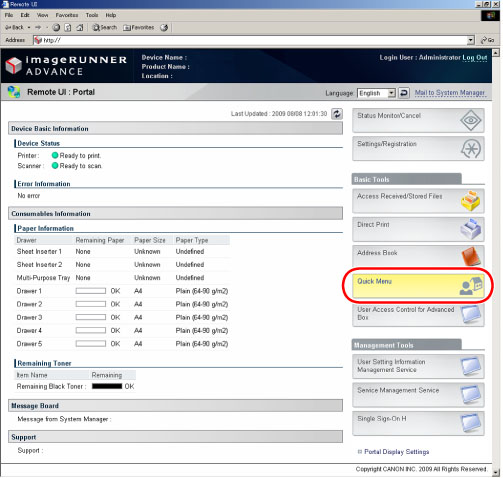
The Quick Menu page is displayed.
5.
Click [Log Out] to end.
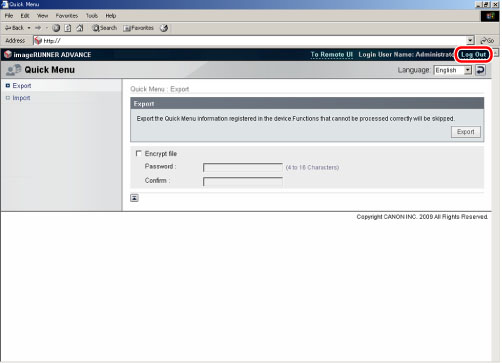
If you want to change the language, select the language you want to display from the drop-down list and click  .
.
.This section describes how to export the Personal button/Shared button from the machine to a computer, and import the Personal button/Shared button from a computer to the machine.
This section describes how to export the Personal button/Shared button via Web browser. The exported Personal button/Shared button is saved to your computer as an XML file.
|
IMPORTANT
|
|
Do not turn the main power of the machine OFF while exporting a Personal button/Shared button file, as doing so may cause the machine to malfunction.
Do not open and edit exported XML files, as this may cause the machine to malfunction.
|
1.
Click [Export] to display the Export page.
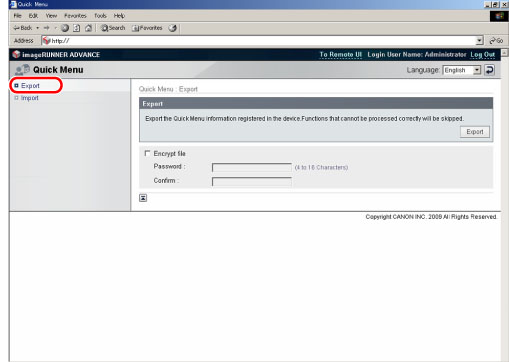
The Export page is displayed.
|
NOTE
|
|
When you log in, the Export page is displayed even if you do not click [Export].
|
Click [Export] to start exporting.
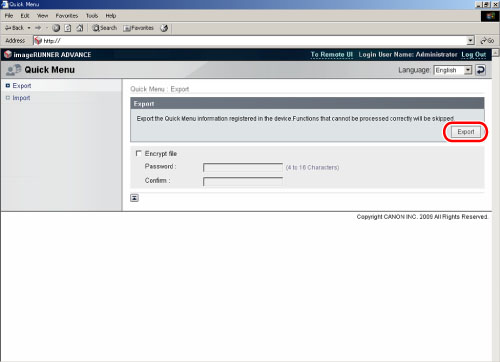
The exported file is saved in the specified location.
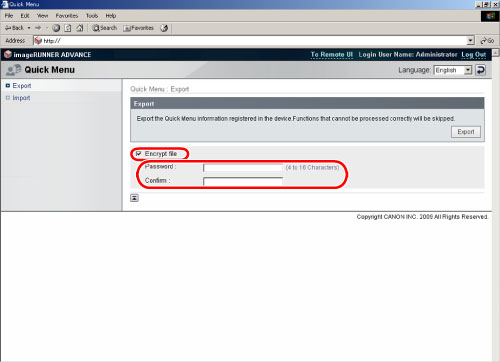
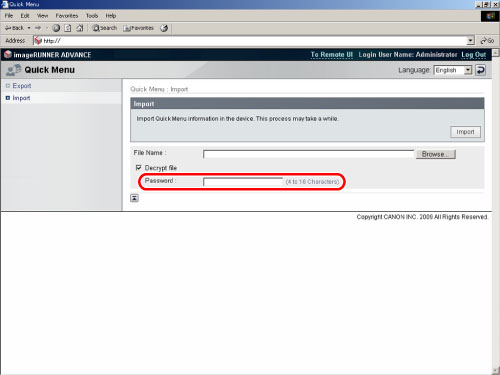
Select [Encrypt file] → enter your password.
|
NOTE
|
|
The password must be 4 to 16 characters.
|
Click [Export] to start exporting.
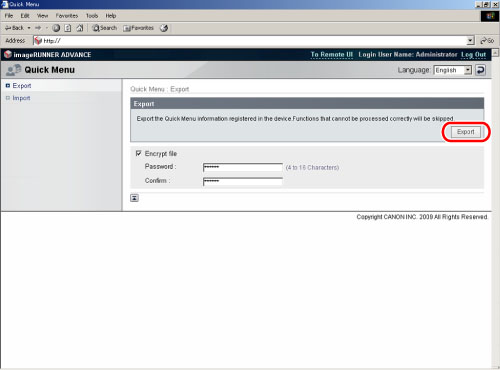
The exported file is saved in the specified location.
This section describes how to load (import) the Personal button/Shared button that is saved as XML file in your computer to the machine via Web browser.
|
IMPORTANT
|
|
Do not turn the main power of the machine OFF while importing a Personal button/Shared button file, as doing so may cause the machine to malfunction.
|
|
NOTE
|
|
You can use the imported files of the Personal button/Shared button among the same models (imageRUNNER ADVANCE 6075/6075i/6065/6065i/6055/6055i). However, you may not be able to use some imported buttons depending on the difference of the optional product attached and the surrounding environment.
|
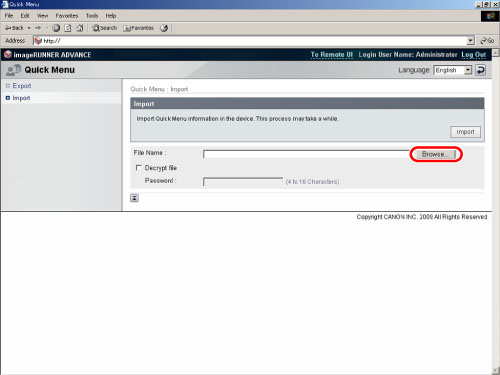
1.
Click [Import] to display the Import page.
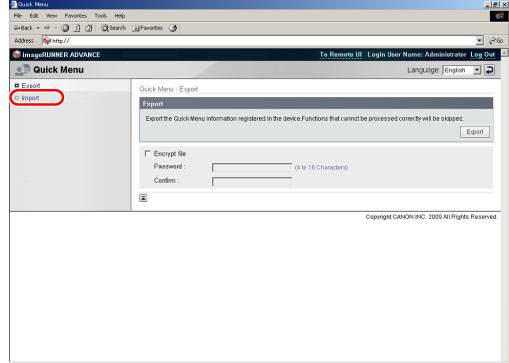
The Import page is displayed.
Click [Browse] → specify the file to import.
|
NOTE
|
|
You can also directly enter the file path.
|
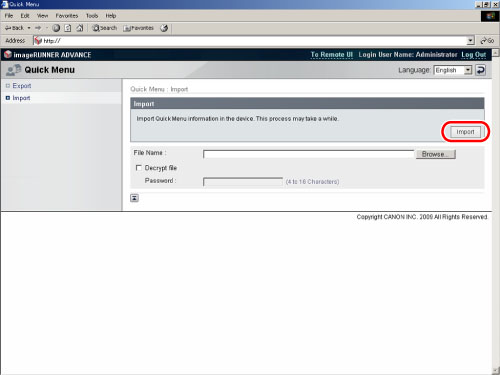
Click [Import] to start importing.
Click [Browse] → specify the file to import.

|
NOTE
|
|
You can also directly enter the file path.
|
Enter your password.
Click [Import] to start importing.
