The Remote UI enables you to store and edit the LDAP (Lightweight Directory Access Protocol) server settings. If the LDAP server information is stored, the machine can access the LDAP server on the network to search and obtain addresses when you are storing or specifying addresses.
|
NOTE
|
|
The LDAP server settings available using the Remote UI are the same as those that you can access from the control panel of the machine by pressing
 → [Set Destination] → [Register LDAP Server]. For instructions on using the control panel to specify LDAP settings, see "Storing Addresses Obtained via an LDAP Server in the Address Book (Local)" and "Using the Machine to Send/Receive a Fax." → [Set Destination] → [Register LDAP Server]. For instructions on using the control panel to specify LDAP settings, see "Storing Addresses Obtained via an LDAP Server in the Address Book (Local)" and "Using the Machine to Send/Receive a Fax." |
1.
Click [Settings/Registration] → select [Register LDAP Server] from the menu that appears under Set Destination.
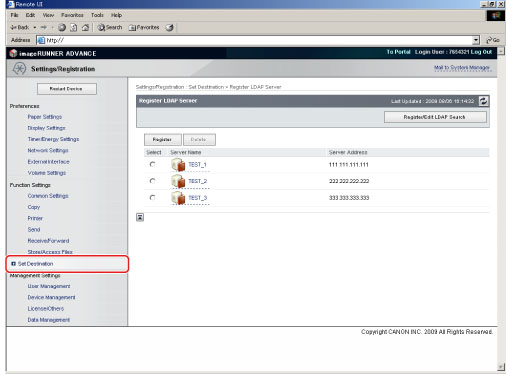
2.
Specify the LDAP server settings.
Click [Register] on the Register LDAP Server screen.
Specify the necessary fields → click [OK].
|
Server Name:
|
Enter the name of the LDAP server.
|
|
Server Address:
|
Enter the address of the LDAP server.
|
|
Location to Start Search:
|
Enter the location (the directory in the LDAP server) from which to start searching.
|
|
Use SSL:
|
Set whether to use SSL or not. If this check box is selected, SSL will be used.
|
|
Port Number:
|
Enter the port number that the LDAP server uses. The default port number that is displayed varies depending on whether the [Use SSL] check box is selected or not. If necessary, change the default port number setting.
|
|
Max Number of Addresses to Search:
|
Enter the maximum number of addresses to search on the LDAP server.
|
|
Search Timeout:
|
Enter the maximum search time for addresses on the LDAP server before the session times out.
|
|
Login Information:
|
Set the login information. Click the Login Information drop-down list → select the type of login information → specify the necessary fields. Some fields may be disabled, depending on the type of login information selected.
|
|
NOTE
|
|
For more information on these settings, see "Storing Addresses Obtained via an LDAP Server in the Address Book (Local)" and "Using the Machine to Send/Receive a Fax."
|
Click the LDAP server name.
Specify the necessary fields → click [OK].
On the Register LDAP Server screen, click the radio button for the LDAP server that you want to delete → click [Delete] → click [OK] on the dialog box that appears to ask for your confirmation to delete the selected LDAP server.
|
IMPORTANT
|
|
Once an LDAP server's settings are deleted, they cannot be retrieved.
|