When scanning, you can adjust the density to the most appropriate level for the original.
You can adjust the overall density when scanning the original.
You can scan the original by erasing the background colour.
This mode enables you to scan by erasing the background colour of the original. This feature is especially useful for scanning originals, such as catalogues and paper, that have turned yellow from age.
1.
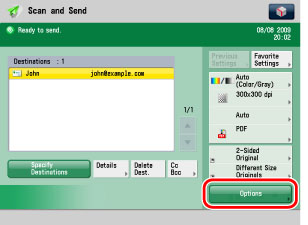
Place your originals and specify the destination → press [Options].
2.
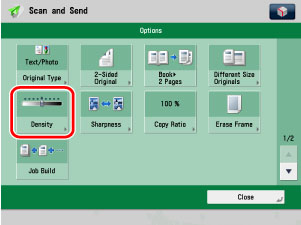
Press [Density].
3.
Adjust the density.
Press [ ] or [
 ] to adjust the density for the original.
] or [] to adjust the density for the original.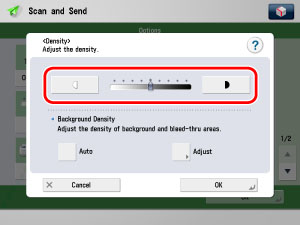
Press [] to move the indicator to the left to make the exposure lighter, or press [] to move it to the right to make the exposure darker.
] to move the indicator to the left to make the exposure lighter, or press [] to move it to the right to make the exposure darker.Press [Auto] or [Adjust] to adjust the density of the background.
[Auto]:
If you want to automatically adjust the density for originals that may bleed or originals with background colour, press [Auto].
[Adjust]:
If you want to manually make adjustments to all colours, press [Adjust] → adjust the background density using [-] or [+] → press [OK].
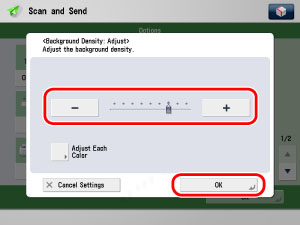
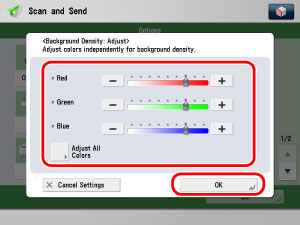
[Adjust Each Color]:
If you want to adjust colours independently, press [Adjust Each Color] → adjust colours independently for background density using [-] or [+]→ press [OK]. If you want to return to the previous screen, press [Adjust All Colors] before pressing [OK].
|
NOTE
|
|
[Adjust Each Color] is displayed only when the Additional Memory Type B (512MB) is installed to expand the memory capacity of the machine.
To cancel this setting, press [Cancel Settings].
If [Auto] is pressed, specified settings for [Adjust] and [Adjust Each Color] returns to the default settings.
|
4.
Press [OK].