When scanning, you can adjust the density to the most appropriate level for the original.
|
IMPORTANT
|
|
For information on the modes which cannot be set in combination with this mode, see "Unavailable Combination of Functions."
|
|
NOTE
|
|
As an example, the procedure for scanning an original and storing it in a mail box is explained in this section.
|
You can adjust the overall density when scanning the original.
You can adjust the image to prevent the background colour from appearing when scanning thin originals where the reverse side may bleed or originals with background colour such as catalogues.
1.
Select the desired Mail Box.
2.
Place your originals → press [Scan].
3.
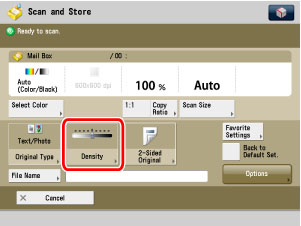
Press [Density].
Press [ ] or [
 ] to adjust the density for the original.
] or [] to adjust the density for the original. 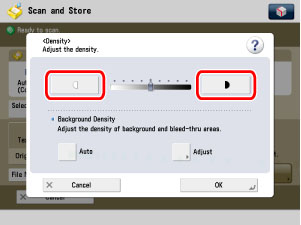
Press [] to move the indicator to the left to make the exposure lighter, or press [] to move it to the right to make the exposure darker.
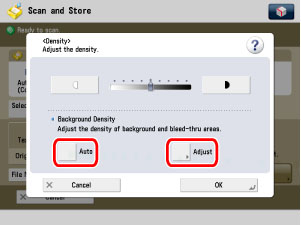
] to move the indicator to the left to make the exposure lighter, or press [] to move it to the right to make the exposure darker.Press [Auto] or [Adjust] to adjust the background density.
|
[Auto]:
|
If you want to automatically adjust the density for originals that may bleed or originals with a background colour, press [Auto].
|
|
[Adjust]:
|
If you want to manually make adjustments, press [Adjust] → adjust the background density using [-] or [+].
|
If you want to adjust colours independently, press [Adjust Each Color] → adjust colours independently for background density using [-] or [+].
|
NOTE
|
|
To cancel this setting, press [Cancel Settings].
|
4.
Press [OK].
5.
Press  .
.
.