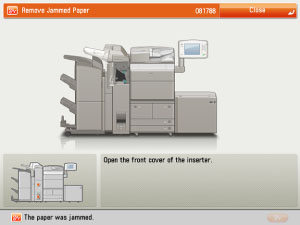
If a paper jam occurs inside the Document Insertion/Folding Unit, a screen similar to the one shown below appears on the touch panel display. Check the location of the paper jam, and follow the procedure described below, and the procedure that appears on the touch panel display, to remove the jammed paper.
 CAUTION CAUTION |
|
The insertion unit of the Document Insertion/Folding Unit or the Document Insertion Unit may interfere with the External 2 Hole Puncher, External 2/4 Hole Puncher, External 4 Hole Puncher, or the finisher when clearing jams. Lift up the insertion unit before removing jams from the External 2 Hole Puncher, External 2/4 Hole Puncher, External 4 Hole Puncher, or the finisher.
|
1.
Open the front cover of the Document Insertion/Folding Unit.
2.
Open the lower delivery guide.

3.
Pull out the Document Insertion/Folding Unit.
4.
Remove any jammed paper from the exit slot.
5.
Remove any jammed paper from the left guide.
6.
Remove any jammed paper from the right guide.

7.
Close the left guide, and return the Document Insertion/Folding Unit to its original position.
 |
||
|
8.
Close the lower delivery guide and the front cover.

9.
Follow the instructions on the touch panel display.