You can save the currently displayed screen as a Page Memo.
|
NOTE
|
|
The maximum data size that can be saved for each page is 500 KB.
Up to 30 pages can be saved.
You cannot add a PDF file to a Page Memo.
If you are saving a Web page with Flash content, the Flash content may not be saved properly.
If multiple windows are open, the specified web page is displayed in the window that is currently displayed on top.
The URLs of pages displayed from a registered Page Memo are saved in the URL history.
|
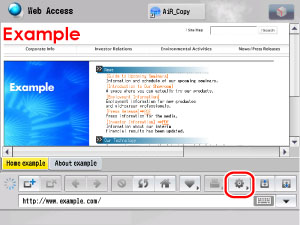
1.
Call up the desired Web page that you want to save → press [Menu].
2.
Press [Page Memo].
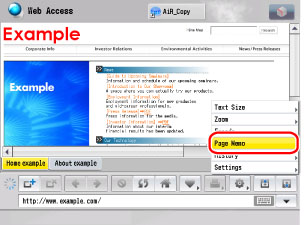
3.
Press [Add to Page Memo].

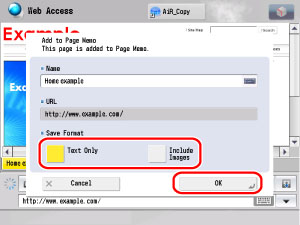
4.
Select the save format → press [OK].
|
[Text Only]:
|
Saves only the text of the Web page.
|
|
[Include Images]:
|
Saves images and text of the Web page.
|
If you do not want to save the Web page, press [Cancel].
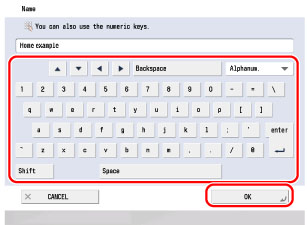
If you want to change the name, enter a new name → press [OK].
The selected Web page is added to the Page Memo List.
|
NOTE
|
|
The name and URL are automatically displayed.
You can change the name and URL. If you save the URL, the contents of the saved screen do not change. The screen currently displayed is saved as a page memo.
|
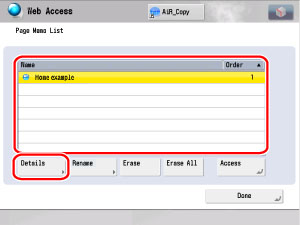
You can erase and change the name of a saved Page Memo.
1.
Press [Menu].
2.
Press [Page Memo].
3.
Press [Page Memo Edit].
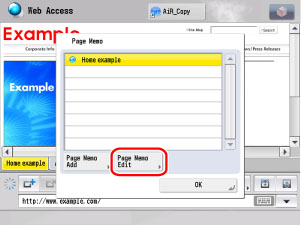
4.
Edit the desired Page Memo.
|
NOTE
|
|
Select [Name] or [Order] to sort the Page Memo List in ascending or descending order.
|
Select the desired Page Memo → press [Access].

The Page Memo is displayed.
Select the desired Page Memo → press [Details].
The detailed information of the selected Web page is displayed.
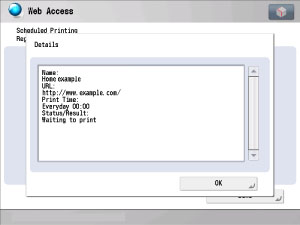
The following details are displayed:
|
Name:
|
The name of the selected Web page
|
|
URL:
|
The URL of the selected Web page
|
|
Created:
|
The date that the selected Web page was saved
|
|
Size(Byte):
|
The size in bytes of the selected Web page
|
|
Secure:
|
Displays whether SSL is set.
|
Select the desired Page Memo → press [Rename].
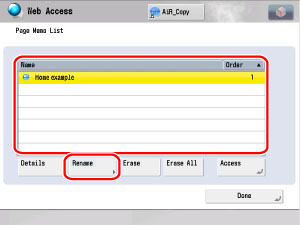
Press the text entry field for <Name>.
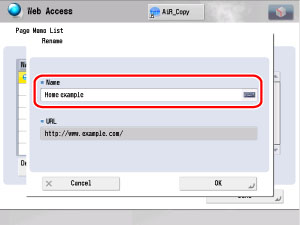
Enter the new name → press [OK] → [OK].
The selected Page Memo is renamed in the Page Memo List.
|
NOTE
|
|
If a Page Memo with the same name is already registered, a message appears, asking if you want to overwrite the existing Page Memo.
|
Select the desired Page Memo → press [Erase].
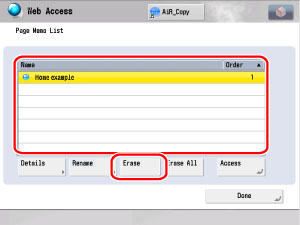
Press [Yes].
If you do not want to erase the Page Memo, press [No].
The selected Page Memo is erased from the Page Memo List.
Press [Erase All].
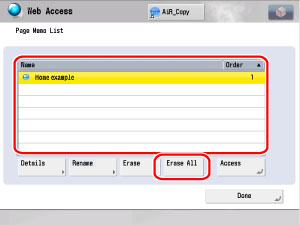
Press [Yes].
If you do not want to erase all of the Page Memos, press [No].
All of the Page Memos are erased from the Page Memo List.
5.
Press [Done] repeatedly until the Web Access screen appears.