Remote UI > Managing Inboxes > Memory RX Inbox > Memory RX Inbox
*
Memory RX Inbox

  1. Click [Mail Box] → select [Memory RX Inbox] from the menu that appears under [Mail Box] → click [MEMORY RX INBOX].

If Department ID Management is set, a dialog box prompting you to enter the Department ID and password appears. Enter the Department ID and password → click [OK].

If the Memory RX Inbox is set with a password, enter the password → click [OK].

  1. If you want to select and perform an operation on a document, select the check box next to the document under [Select] → click one of the buttons on the Memory RX Inbox toolbar.

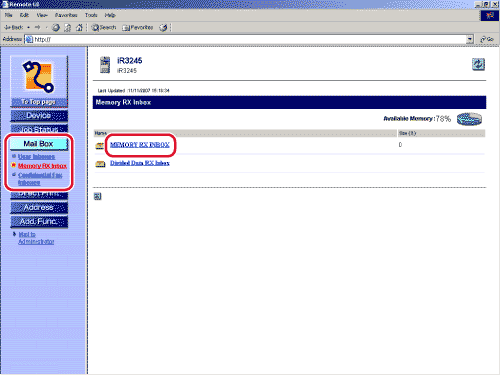
Details of each item are shown below.

: The machine prints out the selected document. A document is automatically deleted once it is printed.
: Sends the selected document to a specified destination.
: Deletes the selected document. Once a document is deleted, it cannot be retrieved.
: Click this button to specify settings for receiving documents in memory.
  • To print the document:
  • To send the document:
  • To delete the document:
  • To specify Memory Lock Settings:

  • To print the document:
  • Click [Print] → [Start Print].
  • Proceed To Next Step

  • To send the document:
  • Click [Send].
  • Specify the address, user, and send settings → click [Start Send].

By selecting a document and clicking the buttons under Document Order, you can change the order in which the documents are sent.

  • Move to top
  • Move up one level
  • Move down one level
  • Move to bottom

If you want the document to be automatically deleted after it is sent, select the [Delete After Sending] check box.

Click [Address Book] under Address Settings to display a list of destinations from which you can select the desired destination.

You can delete an address from the list by selecting it and clicking [Delete].

  • For more information on send settings, see "Using the Main Unit to Send/Receive."
  • Proceed To Next Step

  • To delete the document:
  • Click [Delete].
  • Proceed To Next Step

  • To specify Memory Lock Settings:
  • Click [Memory Lock Settings] → specify the settings as necessary → click [OK].

For more information on the Memory Lock Settings, see "Mail Box."

  • Proceed To Next Step

  1. To display the details of the document, click the destination.

You can also click an icon in Type to display the document details.

Displayed Icons:

Forwarded fax document or fax document saved in memory.
Forwarded I-fax document or I-fax document saved in memory.
  1. If you want to protect the inbox with a password, click [Settings].

Select [Set Inbox Password] → set the password → click [OK].

  • You cannot change the name of the Memory RX Inbox. Only the password can be specified or changed.
  • For more information on the Memory RX Inbox settings, see "Mail Box."

  • Back To Top