You can store the data temporarily in the printer, and send the fax at the specified time.
|
Note
|
|
The display may differ according to the operating system and system environment.
|
1.
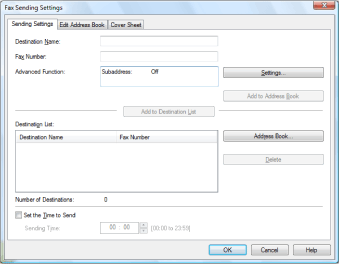
Display the [Sending Settings] sheet.
See "Faxing a Document" on how to display the fax driver screen.

2.
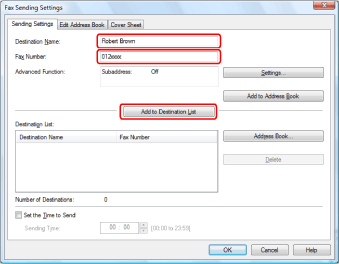
Specify the recipient name and fax number → click [Add to Destination List].
If the destination address has been registered in the address book beforehand, you can select the destination from the address book. For details about selecting a destination from the address book, see "Faxing a Document."

If you have selected [Reenter Fax Number] before adding Destination to [Destination List] in the [Security Settings] dialog box of the [Special] sheet, the [Confirm Destination] dialog box is displayed when you click [Add to Destination List]. For details, see the online help (see the "Viewing the Online Help").
3.
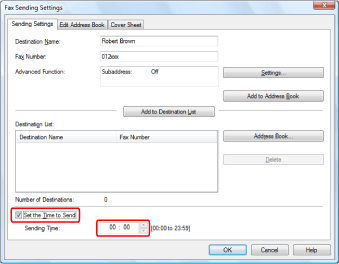
Select [Set the Time to Send] → specify the time to send the fax.

4.
Click [OK].
The data is stored temporarily in the printer, and the fax is sent at the specified time.